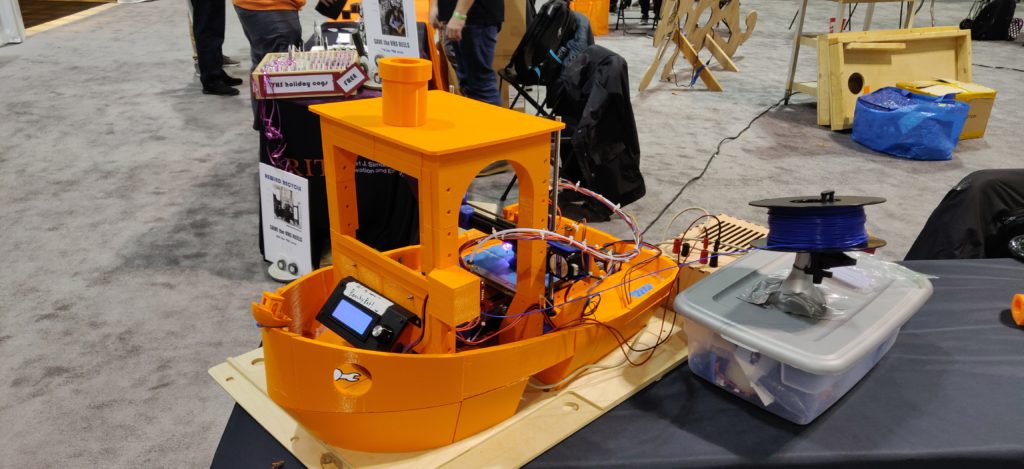
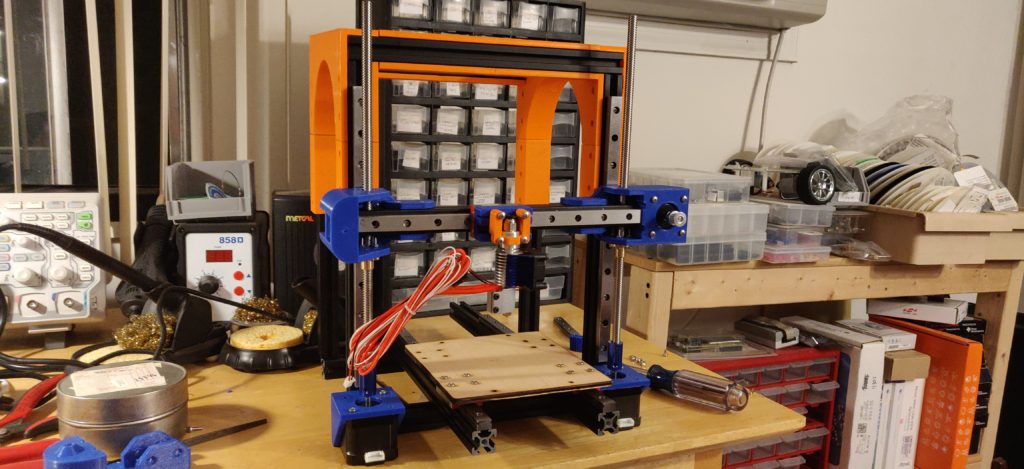
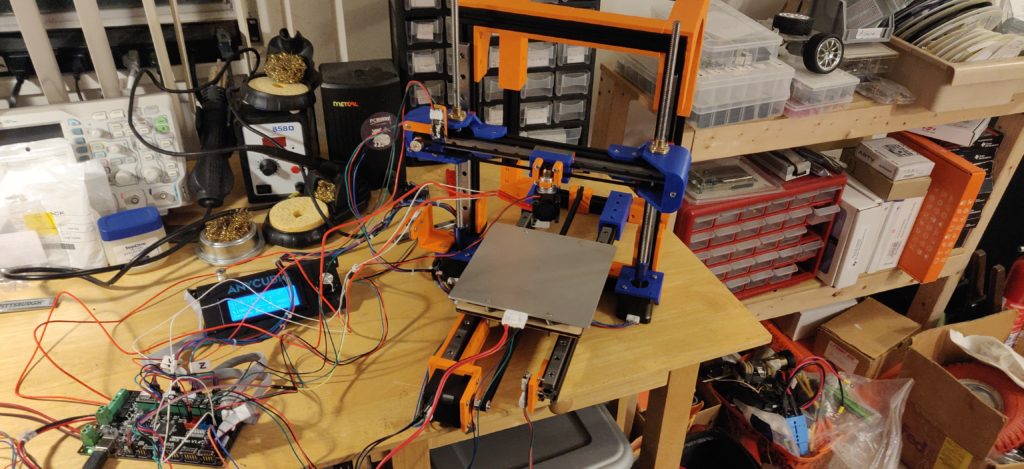
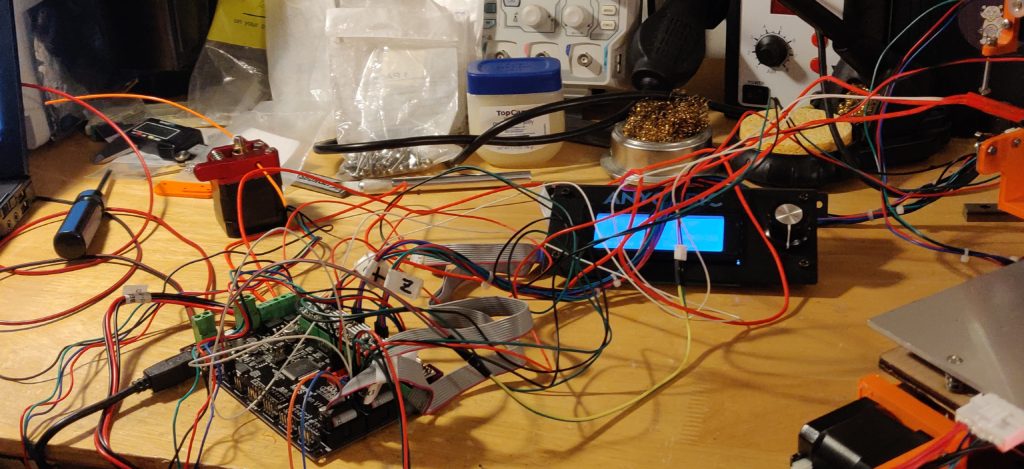
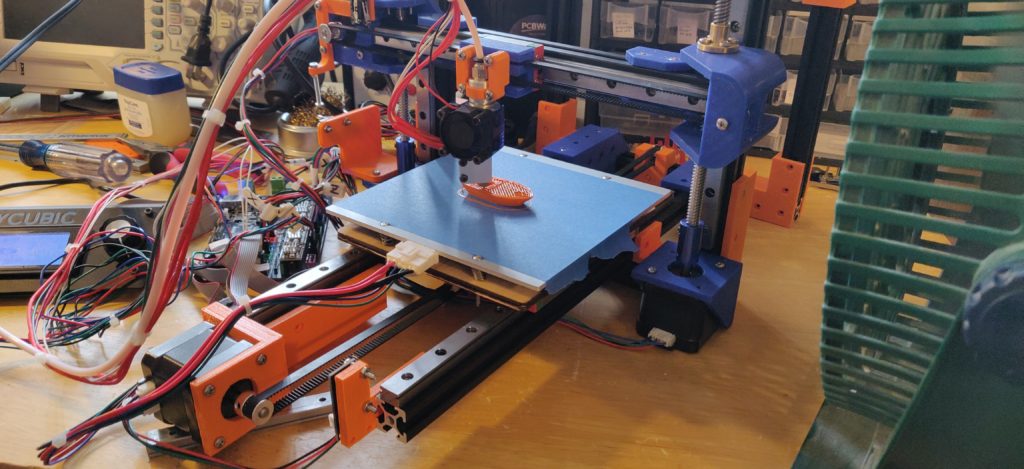
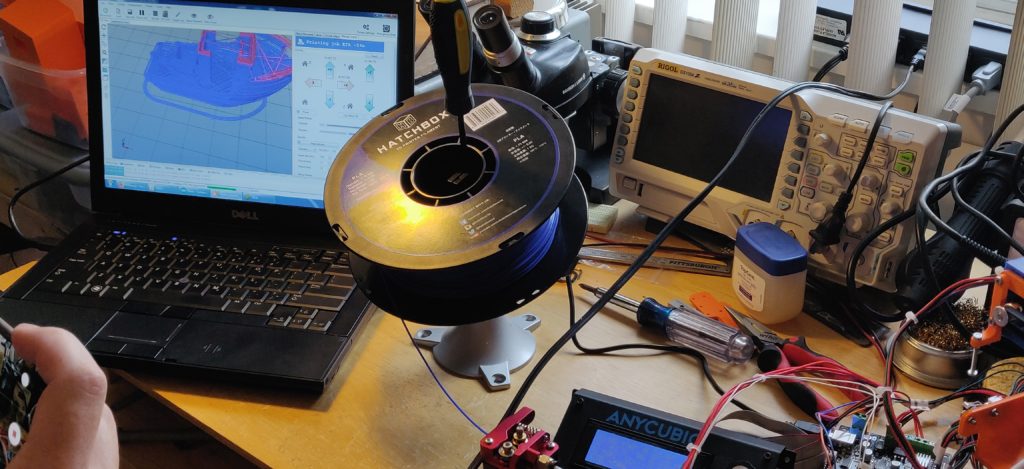
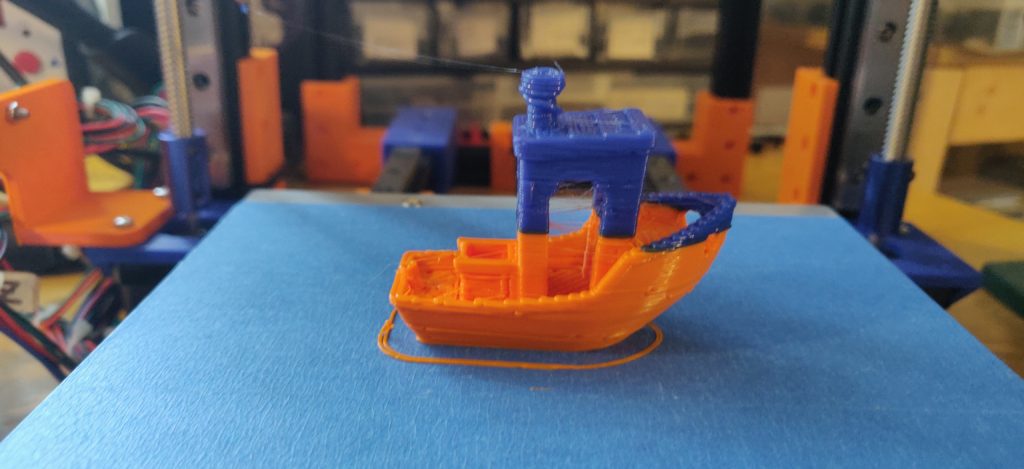
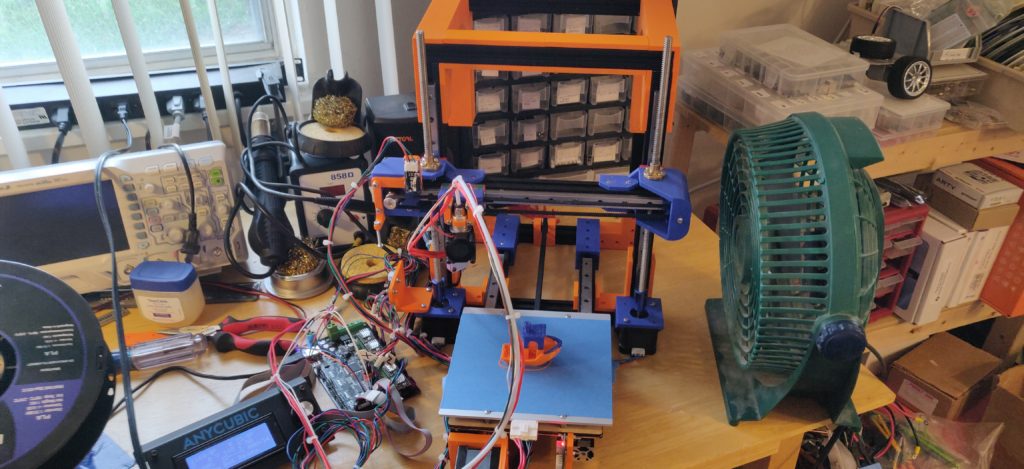
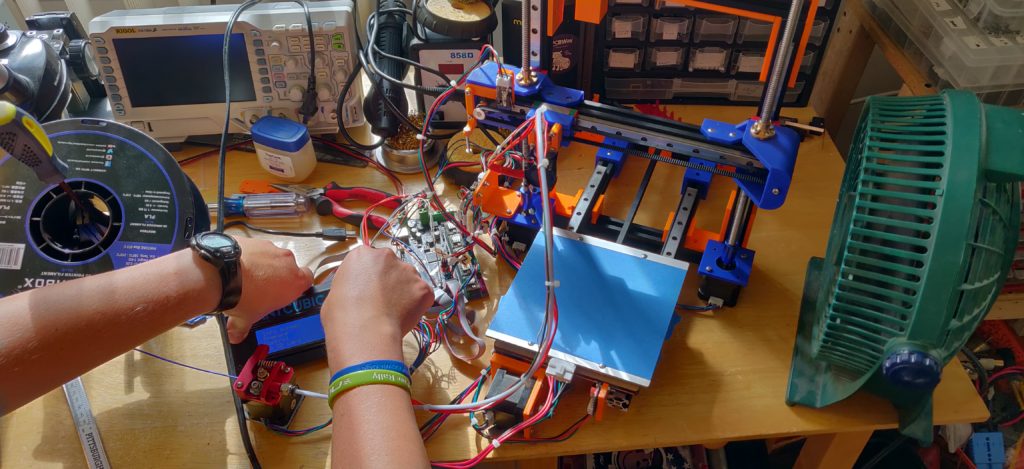
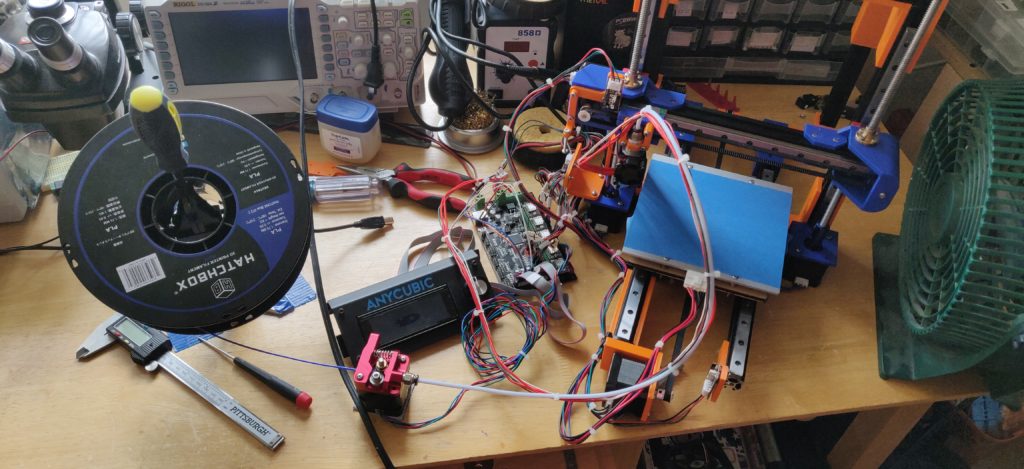
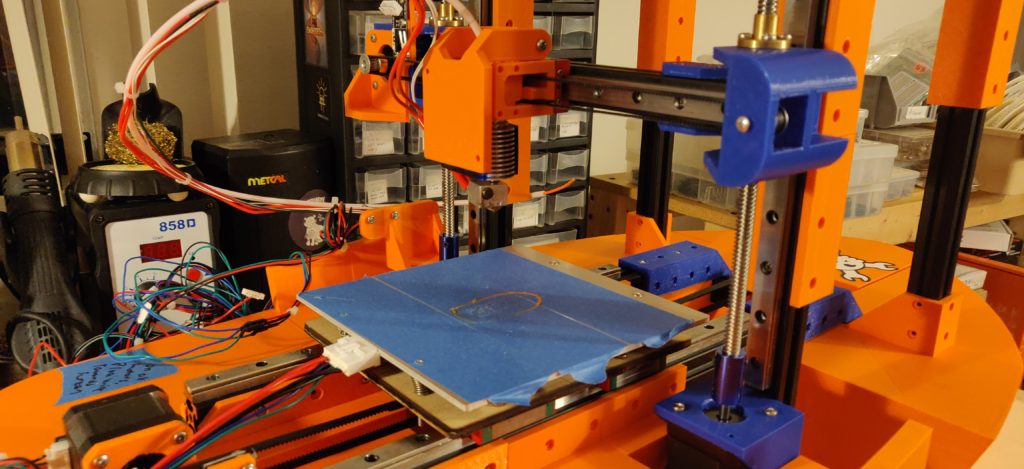
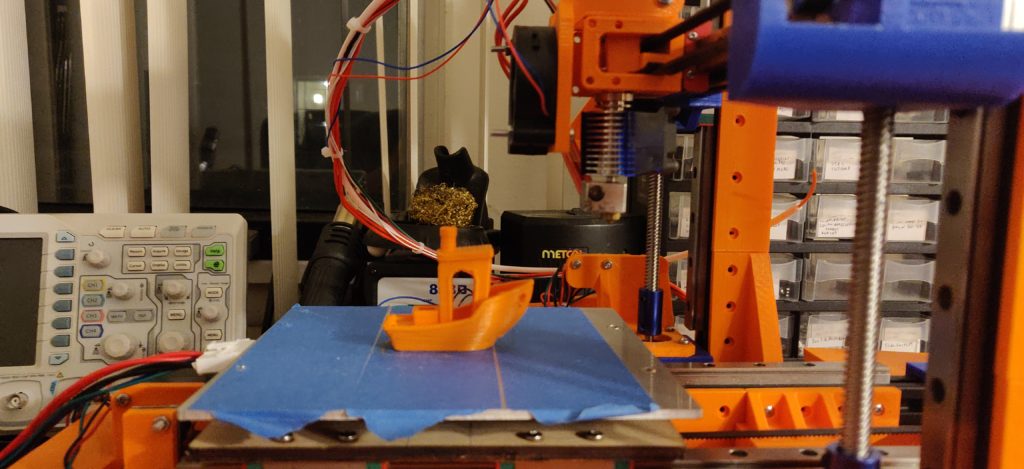
Custom 3D Printer designed around everyone’s favorite test print. Naturally, it prints Benchys.
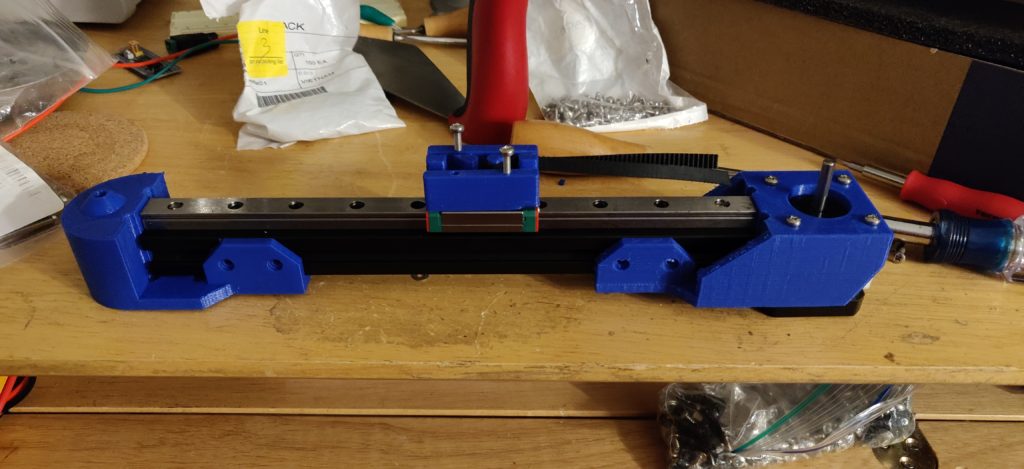
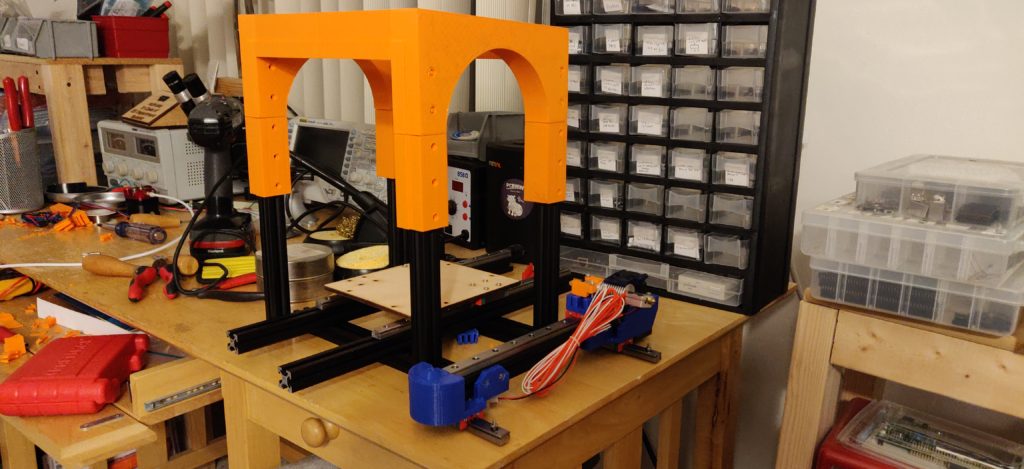
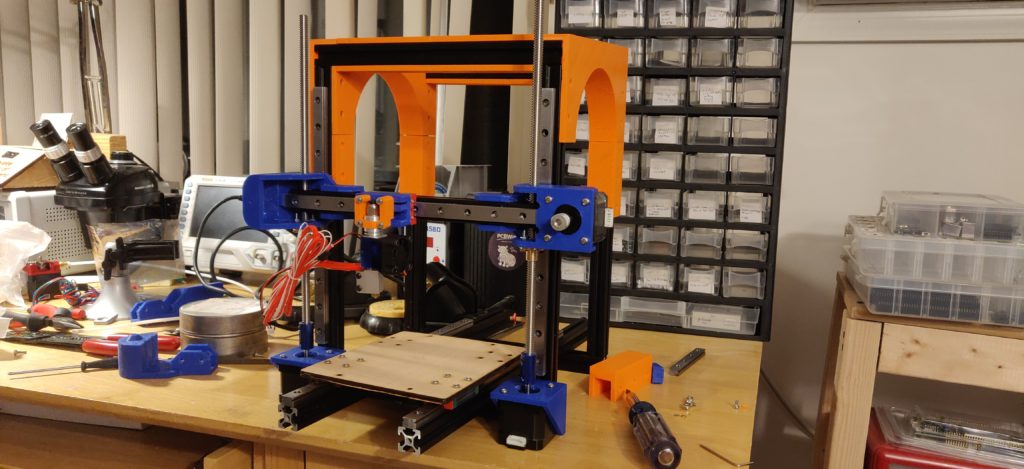
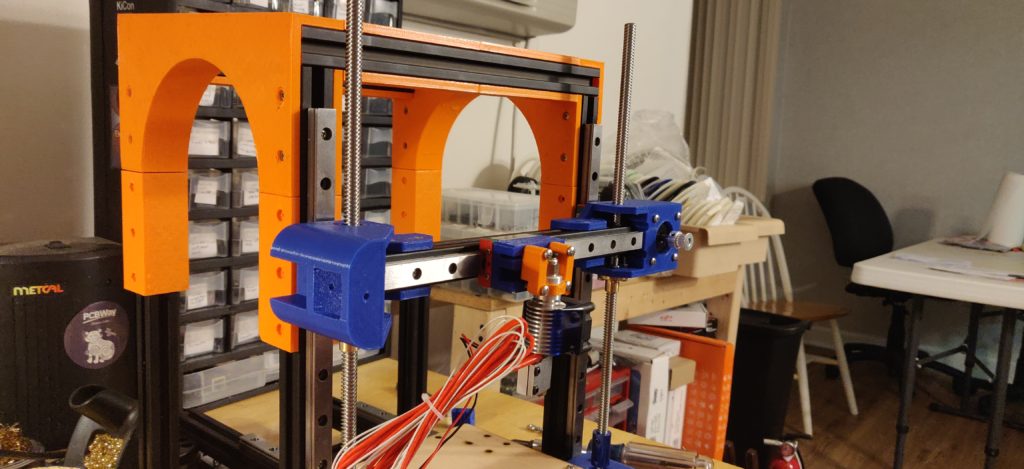
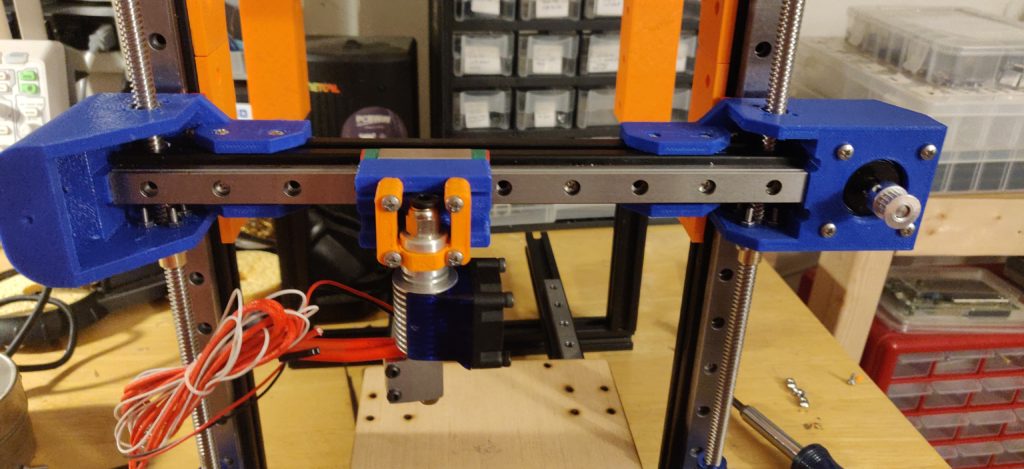
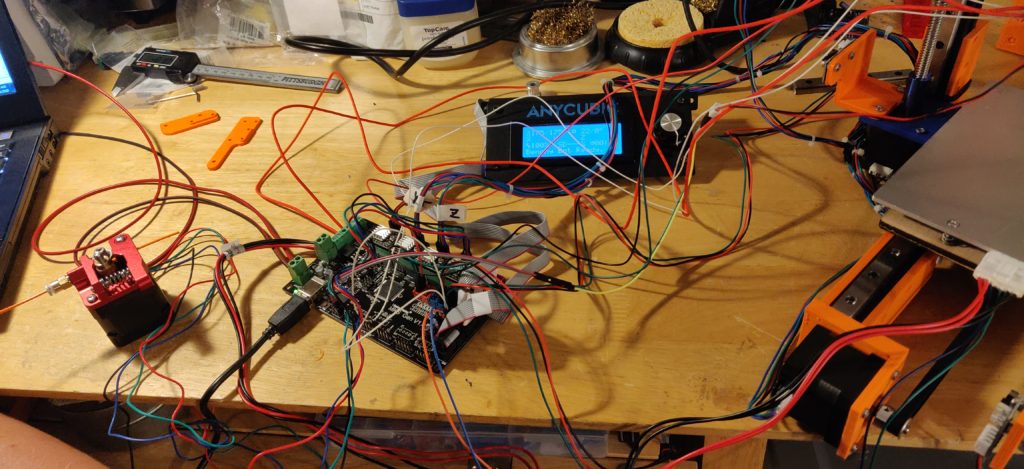
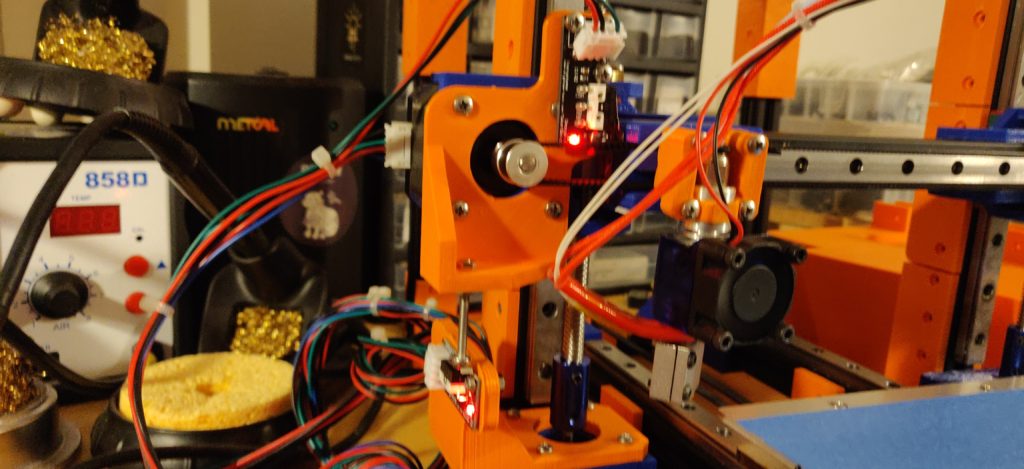
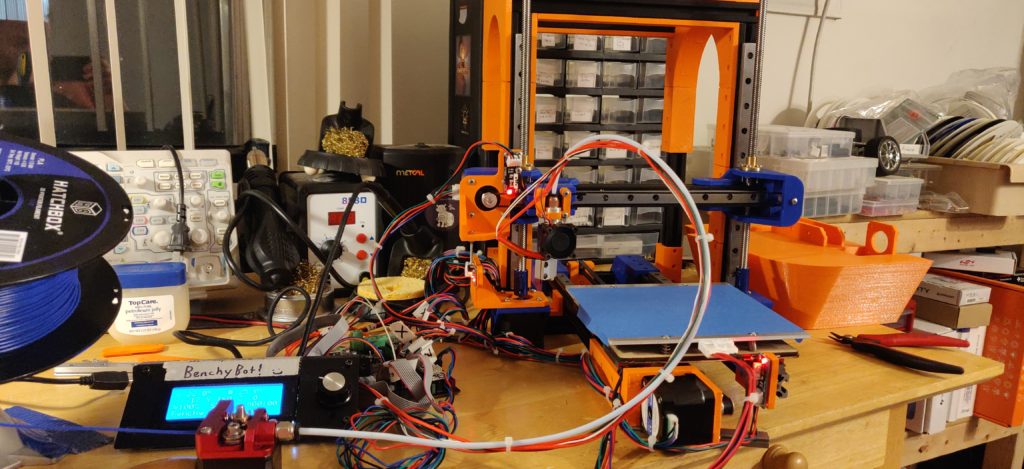
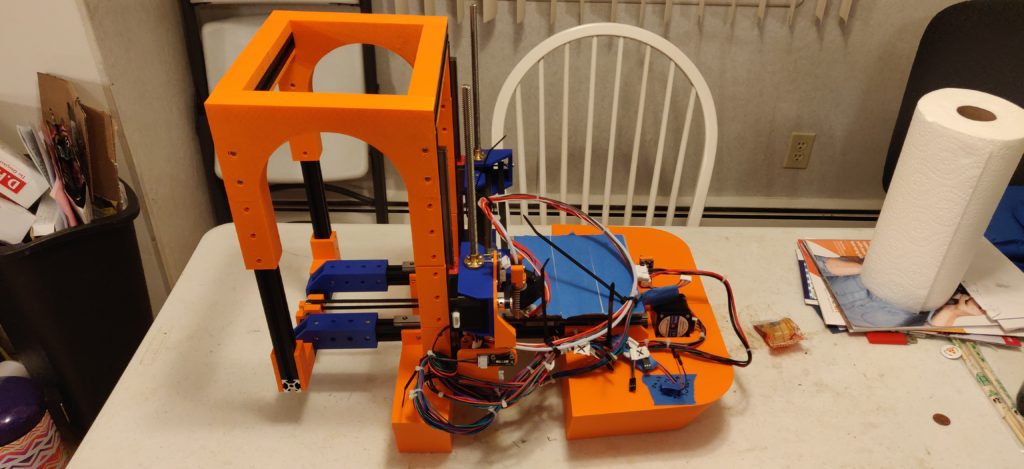
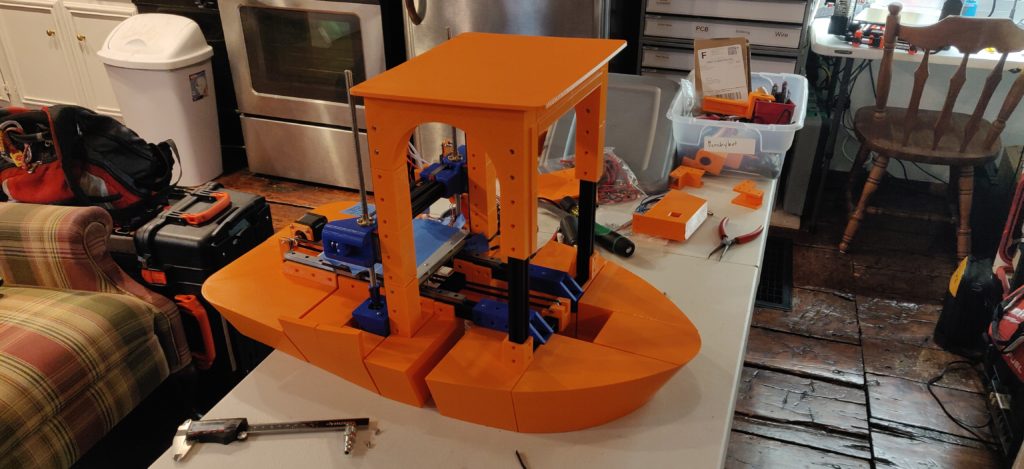
First complete part, the start of the X Gantry. Left and right pieces ended up being re-printed regardless, but it was a good start. The extruder mount made it to the final product at leastThe start of the frame. The arch sections are probably more structural than they should be, but it seems to work pretty well. At this point the X Gantry is ready to go on as wellX, Y, and Z axes all officially mounted, along with a test fit of the extruder.Just about ready to hook up the motors and start testing the axesA close-up view of the extruder. Surprisingly, the first idea for attaching the extruder, despite being incredibly flimsy, ended up being the final design. It holds the extruder nice and tight.An even more close-up view of the mount. We are using a knock-off e3d v6 since this is a ‘novelty printer’, but if it works out well enough we might upgrade to the real thingWiring up for the first time! Sadly the wiring would get worse before it got better. My friend Will came over for that weekend to bring the frame to life and get printing, which we did!We worked pretty late to get all three axes moving and homingWe got super close, but the biggest hold-up was the limit switch on the X axis. I kept getting the dimensions wrong, and we had to print four different revisions. Once things started moving the wiring got even more funThe next morning: Success! We got a print running!Improvised spool holder using a panavise. It got taped down later, but worked otherwiseBenchyBot’s first complete Benchy. We only had a 1mm nozzle on hand, hence the super coarse layer height. We would swap this out for a more reasonable 0.4mm soonPart cooling fan, as recommended by Will. Turns out this would end up being important, did not know it yetWorking on tuning motors and improving print qualitySignificant wiring clean-up let us get some better testing doneThe final design for the X and Z limit switches. The Z axis homing turned out to be a nightmare at ERRF, and would eventually be replaced with a 3D Touch probeHappily printing, ready for the fun of ERRFBenchyBot ready for ‘Shipping’At my friend Sam’s house the night before ERRF. As it turned out, my mechanical design experience was proven ineffective as we cracked some major portions just by moving it. The whole boathouse cracked off (both X and Z axes) and had to be bolstered by the front brackets (which were ABSOLUTELY not supposed to be structural). Sam had printed the bow portions, along with some other hull pieces, and this was the state we went to ERRF in.Back from ERRF, the biggest required update was a part cooling fan. Figuring out where to mount it turned out to be a bit of a struggle, but I settled on a hinged mount in front of the existing extruderA Benchy printed during ERRF. We’ve gotten better results now with a cooling fan, leveling probe, and different filament, but even then, I’m super happy with the print quality